 chuck
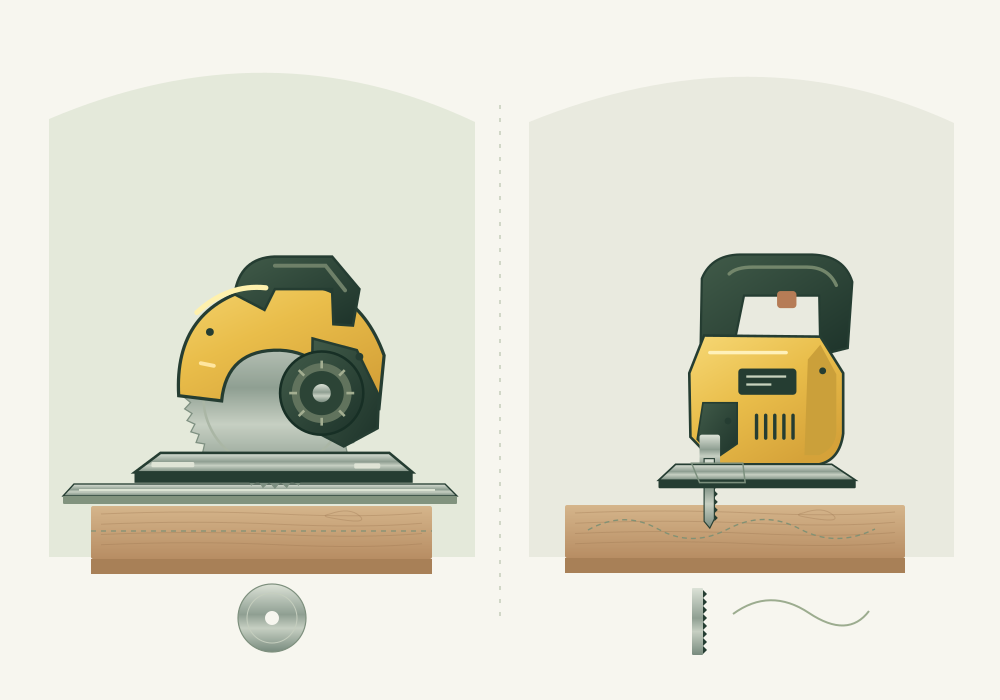
Educational guide based on our supplied DIY glossary. No hands-on testing or external source verification. Check current instructions for your exact tools and materials.
Start with the tool, not the packet claim
A blade described as “wood cutting” is not automatically suitable for your saw. Begin with the exact tool model and the accessory requirements in its manual. The mounting arrangement, permitted dimensions and other stated limits all matter.
Similar-looking blades can belong to different tools or applications. Do not adapt a blade to fit, assume a mounting match proves compatibility, or choose on price before checking the specification. If the instructions leave you unsure, ask the tool or blade manufacturer.
Match the material and the kind of job
Timber, metal, plastic, tile and masonry ask different things of an accessory. Even within one material group, the appropriate blade can depend on the product and the type of cut. A material label is the beginning of the check, not the whole check.
Describe the job to the supplier: the material, its thickness, the tool and whether the edge will remain visible. Cutting a few pieces of clean timber is a different brief from working with a composite or an unknown installed material. Never assume a blade label makes hazardous material safe to disturb.
Think about the finished edge
The useful question is not simply “which blade has the most teeth?” It is “which compatible blade is intended to produce this cut in this material?” Tooth arrangement, blade design and the tool all contribute to the result.
A claim about a clean finish should be read in the context of the intended material and application. Look at the manufacturer’s guidance rather than relying on a single number on the packaging. If the cut will be visible, allow for the preparation and finishing your project needs as well.
What kerf and tip materials tell you
Kerf is the width of material removed by the blade during a cut. It matters when planning a layout: a cut removes material rather than dividing a board with an infinitely thin line. Use the relevant blade information and project method rather than assuming every blade removes the same amount.
A carbide-tipped blade has hard tungsten carbide cutting tips. That describes a construction feature, not a promise that it suits every material or every saw. A diamond blade uses industrial diamond particles and is commonly associated with tile, concrete and masonry applications. Those are different accessory families with specific tool and usage requirements.
Check the details together
Treat the blade, tool and task as one decision. Keep the packaging or product reference so you can find the correct instructions later. A worn, damaged or unsuitable accessory is not made appropriate by being the right general shape.
Follow the manufacturer’s instructions for inspection, fitting, replacement and any required dust-control arrangements. Disconnect or otherwise isolate the tool as its instructions require before changing accessories. This guide explains buying terminology; it is not a blade-fitting procedure.
- Confirm the exact saw model and permitted accessory specification.
- Check the blade is intended for the material and cut.
- Read the stated usage limits and inspection instructions.
- Include the correct replacement blade in your project budget.
The takeaway
- Physical fit alone does not establish blade compatibility.
- Choose for the material and desired cut, not a single headline number.
- Kerf is the material removed by the cut and belongs in layout planning.